This has been a proper journey through the digital plumbing of the home lab. It started with a simple enough goal: making it easier for two Synology NAS units to communicate without opening a single port on my router. In 2025, if your router is still a colander of open ports, you aren’t building a network; you’re hosting an open house for the world’s botnets.
Nowadays, it is more than just plugging a hole in a router. With the advent of mesh networks for homes, you often run into a double NAT problem, which makes things a logistical nightmare. It frankly takes the fun out of it.
I have been running two Synology NAS devices for about 18 months now, each with 40TB sitting in a RAID setup. This was surprisingly “cheap” to set up at just under $1,800 per unit. It has become an impressive pillar of our digital lives, removing the reliance on public cloud setups. Our Google data (Photos/Drive) is backed up, our Dropbox usage is diminishing, and our personal machines are backed up in case they decide to shit the bed. Most of the apps are available through Synology’s web interface, making it painless to configure.
I have separate Linux servers that historically did all the heavy lifting for network routing using iptables. But as networks get more complicated, managing that manually was becoming a chore. I have reached the age where I just want stuff to work; I’ve had my tinker-fun time.
Now that we have adult children, it means we aren’t knee-deep in toys and wrapping paper from the early hours (grandkids are a little way off yet, but I am hoping). I took the downtime before the family came over for Christmas dinner to tackle this project and get it all squared away.
The Hero: Tailscale
The hero of the story is Tailscale. It is a zero-trust mesh network built on WireGuard, and for the personal user, the pricing is almost offensive: free for 3 users and up to 100 machines. That is enough runway for even the most aggressive home lab enthusiast to build a sprawling architecture without spending a dime.
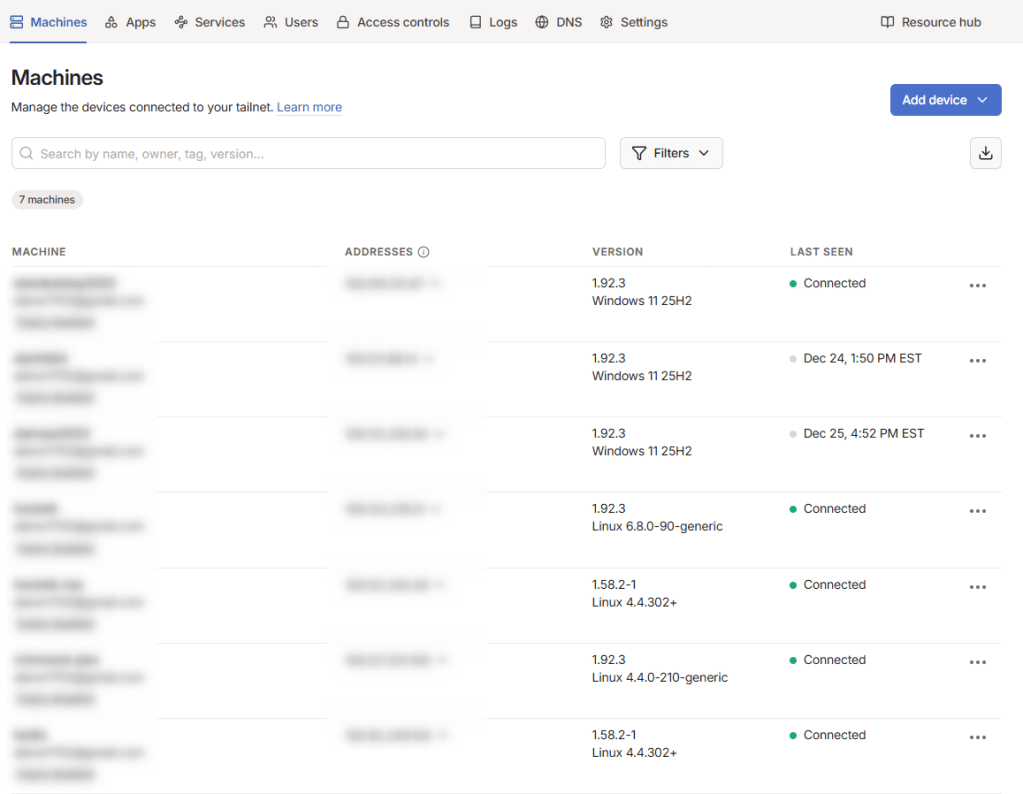
Once I had the account established, installing the desktop apps was easy. Synology even has a supported Tailscale app in its package library, which is a nice bonus. Once installed, you have a virtual private network on the 100.x.y.z IP range that you can access just like any other local address, except this is secure and private.
Tailscale lets you route app traffic to specific IPs in your network so you can “exit” from a remote machine. For example, hypothetically, say you had a family member’s machine in the UK. You could route a browser’s traffic through that machine, allowing you to enjoy the BBC iPlayer without too much fuss. Hypothetically. It makes for a very powerful, secure, private family network.

Establishing the Direct Connection
The primary use case here involves two Synology NAS devices, one at my house and one at a family member’s home. These devices stay in sync using Synology Drive ShareSync. It used to work over Synology’s QuickConnect, which bounces traffic through their servers. While it was fine for small files, it was frustratingly slow for a proper library sync.
By using Tailscale, I dramatically improved this by establishing a direct peer-to-peer connection between the two units. Even across different households and through complex home mesh routers, Tailscale uses NAT traversal to find a direct path, bypassing the need for slow relays.
The MTU Rule: Don’t Touch the Hardware
If there is one thing you take away from this journey, let it be this: never adjust the MTU on your physical network interface.
I tried it. I set the physical NIC to 1280 thinking I was being clever with packet sizing. The result was a total lockout. QuickConnect died, the web interface vanished, and the NAS effectively fell off the face of the earth. You must keep the physical hardware at the standard 1500 so it can talk to your router and the internet normally. You only ever adjust the virtual interface.
Fixing Synology’s Mute Tailscale
On DSM 7, Synology sandboxes applications so tightly that Tailscale cannot even talk to other nodes out of the box. To fix the MTU and the outbound connection issues permanently, I dropped this into the Task Scheduler as a boot-up script:
#!/bin/bash
# Wait for Tailscale to wake up
sleep 30

# Fix the outbound connection permission
/var/packages/Tailscale/target/bin/tailscale configure-host
synosystemctl restart pkgctl-Tailscale.service

# Set the MTU on the VIRTUAL interface ONLY
/sbin/ip link set tailscale0 mtu 1280
The Convenience Factor: Key Expiry
Tailscale is secure by default, which means it forces you to re-authenticate every 180 days. That is fine for your laptop, but for a headless server in another house, it is a nuisance. I went into the Admin Console and disabled Key Expiry for the NAS and the Ubuntu box so they stay connected indefinitely.
The Windows Conflict: Tailscale vs. Cloudflare
A quick word of warning for Windows users: Tailscale is essentially an alternative to Cloudflare Zero Trust (WARP). They are both fighting for control of the same networking stack. I have found that they do not play well together on the same machine. If you have both enabled, expect “General Failure” errors and routing loops. Pick one, or get very comfortable with the Disconnect button.
The Takeaway
We are living in a world where private doesn’t have to mean isolated. By leveraging a zero-trust mesh, I have moved from a fragile, port-forwarded setup to a resilient, encrypted architecture that handles my SSH, RDP, and even real-time NAS-to-NAS syncing without breaking a sweat.
One less thing to worry about.